Vue.jsベースのフレームワーク! Nuxt3プラグイン《nuxt-mdiで簡単アイコン表示 》

こんにちは、樋口です。
 
今回はNuxt3でアイコンを表示できる「nuxt-mdi」についてご紹介します。非常に簡単にアイコンの表示ができるので、是非ご覧ください。

使用するライブラリ

今回は下記ライブラリを使用します。

Vue.js
3.4.21
Nuxt.js
3.11.1
nuxt-mdi
2.1.1

@nuxtjs/color-modeの追加

初めにコマンドプロンプトで、使用するNuxt.jsのプロジェクトフォルダまで移動します。移動後、以下のコマンドを実行します。

npm i nuxt-mdi


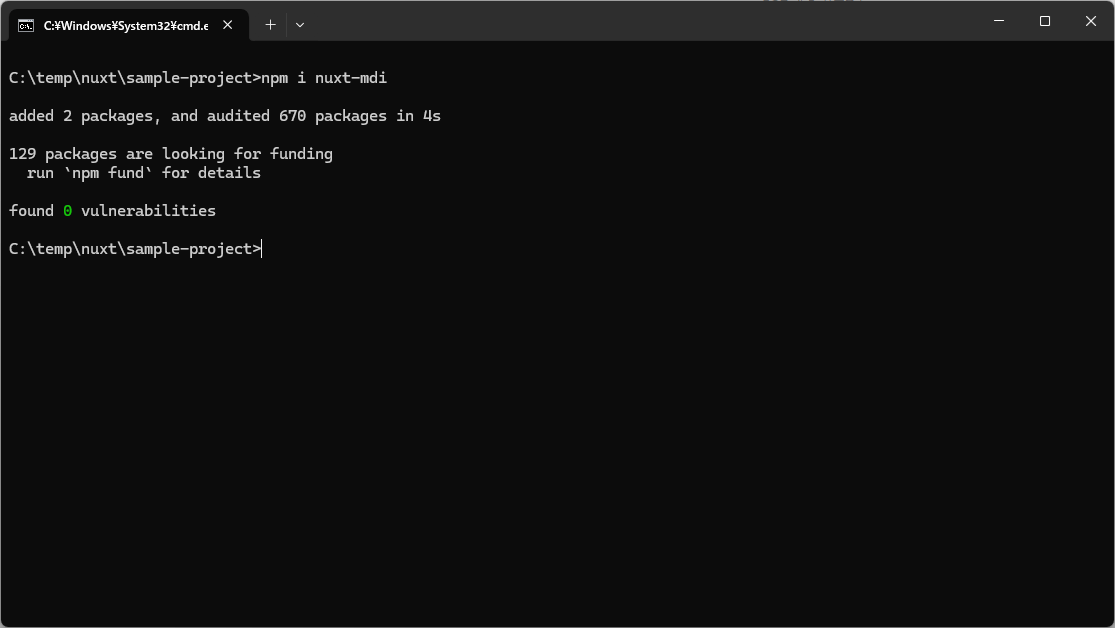
これで対象のプロジェクトに、ライブラリを追加することができました。
 
次に実際のライブラリの使用方法について解説していきます。

プロジェクト構成

今回は下記のプロジェクト構成で作業を行っていきます。

 sample-project
   |- .nuxt
   |- node_modules
   |- pages
     |- sample
       |- index.vue ← 今回修正ファイル
   |- public
   |- server
   |- .gitignore
   |- app.vue
   |- nuxt.config.ts
   |- package.json
   |- package-lock.json
   |- README.md
   |- tsconfig.json

nuxt.config.tsファイルへの記載追加

ライブラリの追加をしたら、「nuxt.config.ts」ファイルの「modules」にライブラリの記載追加を行います。
 
– nuxt.config.ts

export default defineNuxtConfig({
devtools: { enabled: true },
modules: [
'nuxt-mdi'← 記載追加
],
})
export default defineNuxtConfig({ devtools: { enabled: true }, modules: [ 'nuxt-mdi'← 記載追加 ], })
export default defineNuxtConfig({
  devtools: { enabled: true },
  modules: [
    'nuxt-mdi'← 記載追加
  ],
})

これでライブラリの利用が可能となります。

Vueファイル

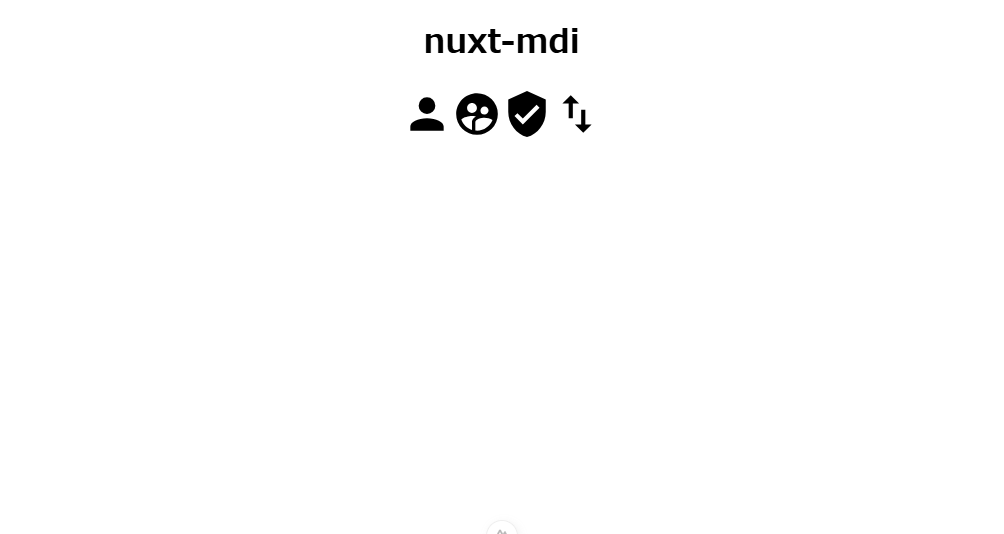
今回サンプル用に作成した、Vueファイルを下記に記載します。
 
– index.vue

<template>
<div style="text-align: center;">
<h1>nuxt-mdi</h1>
<div>
<MdiIcon icon="mdiAccount" width="50" height="50"/>
<MdiIcon icon="mdiAccountSupervisorCircle" width="50" height="50"/>
<MdiIcon icon="mdiShieldCheck" width="50" height="50"/>
<MdiIcon icon="mdiSwapVertical" width="50" height="50"/>
</div>
</div>
</template>
<script setup>
</script>
<style>
</style>
<template> <div style="text-align: center;"> <h1>nuxt-mdi</h1> <div> <MdiIcon icon="mdiAccount" width="50" height="50"/> <MdiIcon icon="mdiAccountSupervisorCircle" width="50" height="50"/> <MdiIcon icon="mdiShieldCheck" width="50" height="50"/> <MdiIcon icon="mdiSwapVertical" width="50" height="50"/> </div> </div> </template> <script setup> </script> <style> </style>
<template>
<div style="text-align: center;">
    <h1>nuxt-mdi</h1>
    <div>
      <MdiIcon icon="mdiAccount" width="50" height="50"/>
      <MdiIcon icon="mdiAccountSupervisorCircle" width="50" height="50"/>
      <MdiIcon icon="mdiShieldCheck" width="50" height="50"/>
      <MdiIcon icon="mdiSwapVertical" width="50" height="50"/>
    </div>
</div>
</template>

<script setup>
</script>

<style>
</style>

5行目~8行目:
 
「MdiIcon」タグで囲うことでアイコンの表示が行えます。「icon」で表示を行いたいアイコンの種類を選択します。
※ 詳細については、nuxt-mdiをご確認ください。

アイコンの選び方

自身の好きなアイコンを選ぶため、下記URLより表示したいアイコンの種類を選びます。
Material Design Icons

実行結果

– 表示結果
 

最後に

今回は、アイコンをタブ一つで簡単に表示できるライブラリについてご紹介しました。今後もこのような簡単に使用できるNuxt3でのライブラリのご紹介をしていければと思っています。
 
次回もよろしくお願いします。


《関連記事》

Nuxt3でpagesフォルダのルーティング
技術
2024.4.16(Tue)

Nuxt3でpagesフォルダのルーティングが正しく行えないときの解消法

#プログラム#JavaScript#Nuxt.js#Vue.js
 
Nuxt3Vuetify3導入
技術
2023.5.24(Wed)

Vue.jsベースのフレームワーク! Nuxt3入門《Vuetify3導入》

#プログラム#JavaScript#Nuxt.js#Vue.js


Nuxt3フォルダ階層説明
技術
2023.5.18(Thu)

Vue.jsベースのフレームワーク! Nuxt3入門《フォルダ階層説明》

#プログラム#JavaScript#Nuxt.js#Vue.js


記事をシェア
MOST VIEWED ARTICLES